How to Rig an Underwater Fishing Camera Inline with Your Lure
Getting Clear Strike Footage Without Spooking Fish
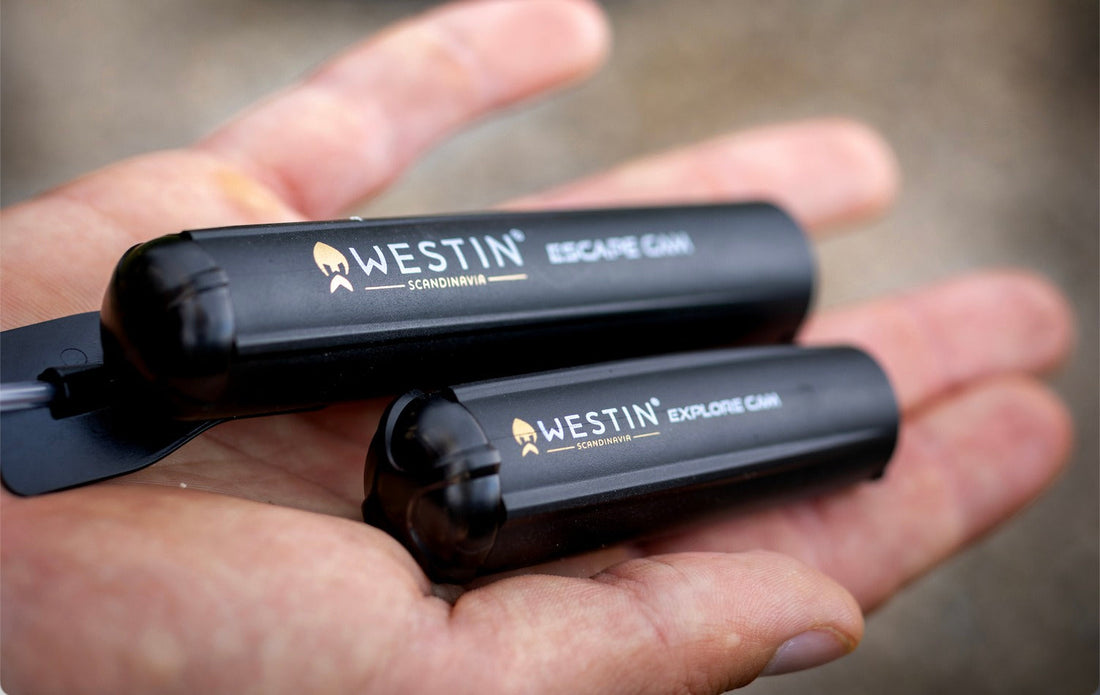
If you’re using a compact underwater fishing camera like the Westin Explore Cam, rigging it inline with your lure is one of the most effective ways to capture real-time fish reactions. It's also one of the best ways to use an underwater camera fishing, especially if you're trying to capture strike footage either to learn how fish are reacting to your lure, or for video content creation.
Of course, it’s also the setup that gets the most questions:
Will it spook the fish?
How do you keep it from spinning out?
What kind of leader should you use—and how do you actually tie the thing in?
So let's go through it step by step, from general setup to recommended gear to common mistakes to avoid:
What Is Inline Rigging?
Inline rigging means placing the camera directly on your fishing line—not mounted separately or hanging from the side of the boat. What that does is give you a straight-line view of the action. No obstructions, no weird angles.

Because the cam sits between your mainline and your lure or bait, it gives you a clear, uninterrupted view of the strike zone. So, when a fish moves in, you are seeing it exactly how it approached the bait.
The lens of the camera stays pointed toward your presentation, so you are not just watching a fish from the side or behind—it is all happening right in front of the camera.
This kind of setup works best with compact cameras that are built for it—ones that are light enough to cast and tough enough to take a hit. You would not want to try this with a big trolling cam unless you are trolling, obviously. But with something like the Westin Explore Cam, you can do this without seriously affecting lure action or casting distance. But the way you rig any underwater cam model is important.
What You’ll Need
-
Underwater camera with built-in tie points (like the Explore Cam)
-
Swivels (ideally ball-bearing to reduce twist)
-
Leader line (fluorocarbon or mono—12–20 lb test for bass or trout or 20–50 lb test for pike or saltwater species)
-
Lure or bait of your choice
-
Barrel or 3-way swivel (optional but helpful)
*When you're rigging a camera inline with your lure, your leader choice isn’t just for the fish—it’s for protecting your gear. Even if you're targeting species that normally call for lighter line, like bass or trout, the added drag, weight, and resistance of an underwater camera changes the equation. A stronger leader helps you avoid breakoffs if the camera snags, cushions against stress during casting or retrieves, and gives your knots a bit more durability around the camera's tie points.
That said, if you're targeting smaller or more line-sensitive species, you can get away with 12–15 lb test—especially with a compact camera in calm water—but you'll need to be extra mindful of how your lure swims and how the line handles strain. The goal is to strike a balance: heavy enough to protect your gear, light enough to keep your presentation believable for the fish.
Step-by-Step: The Basic Inline Rig

1. Attach Your Camera to the Line
- Use the built-in eyelets or clips to tie the mainline to the front of the camera and the leader to the back. Try keeping the lens angled downward or slightly upward depending on the depth and lure weight—it can change what stays in frame.
Pro tip: Many anglers tie with loop knots or snap swivels for easier change-outs. However, just be aware that snap swivels can add extra hardware and flash. They work well in trolling or stained water, but for clear water or finicky species, opt for loop or clinch knots to reduce hardware visibility. (Note: Loop knots are cleaner, but not everyone uses them at both tie points—some prefer direct clinch knots for stability.)
2. Tie Your Leader
- 2–4 feet of fluorocarbon is a good length for most conditions.
- Too long and you might catch glare or flaring from the leader.
- Too short and it puts your lure too close to the camera, reducing field of view.
3. Add Your Lure
- Keep it simple: jigs, swimbaits, and soft plastics work great.
- Avoid lures that require erratic, twitch-heavy action—they don’t always look natural on camera and can knock your framing off.
Pro Tips for Clean Footage
-
Swivel placement – A small barrel swivel before the camera reduces spin without adding flash or drag.
-
Use a sink rate test – Drop the rig beside the boat to watch how it sinks and adjusts. Make sure the lure stays in frame. Heavier jigs can pull an underwater cam down at an awkward angle, so some fishermen use lighter lures for better control, especially when trolling.
-
Tension is your friend – Keep a little pressure on the line during retrieve to stabilize your footage.
Common Mistakes to Avoid
⚠️ Using braided line too close to the camera – It can flash or fray unnaturally and spook fish. Instead, use a fluorocarbon leader between your mainline and the camera to keep things smooth and less visible.
⚠️ Overweight rigs – A heavy jig paired with a camera can nose-dive or flip.
⚠️ Rigging it too loose – Slack line between the cam and lure creates jerky footage and missed angles.
Advanced Variations

Once you’re comfortable with a basic inline setup, you’ll start to see new possibilities for how to experiment with your presentation—or even film multiple perspectives in the same session. Some of these advanced rigging styles are borrowed from saltwater or multi-line setups, but they’re just as useful for tweaking your underwater footage and learning more about how fish react to different baits and positions in the water column:
3-way swivel setup – (More of a side mount option.) Run the camera off one arm and the lure off another for a broader view.
Double-leader rigs – Add a small dropper above the cam for an alternate bait presentation.
Under-spread trolling – Run the cam inline with one trolling bait to compare presentation styles.
Even if these rigs aren’t something you’d use every trip, they’re great tools when you want to test new lures, fine-tune your spread, or troubleshoot a slow day. Getting creative with your fishing camera setup is part of what makes using one so rewarding—and once you’ve seen the footage from a side-view or dropper variation, it’s hard not to keep tinkering.
Underwater Cam Rigging Tips

- Tie snugly and cleanly. Avoid bulky knots at the camera tie points.
- Camera orientation: The front should point toward your lure. Many cams are labeled or shaped to show you what’s “forward.”
- Leader test strength: Match it to target species. For bass, 12–20 lb is common. For pike or saltwater, 30–60 lb is more realistic.
- Leader visibility: Fluorocarbon is preferred—lower visibility and better abrasion resistance.
- Retrieve speed: Moderate retrieves work best to stabilize the camera and keep your lure in-frame.
- Casting: These rigs can be cast carefully with spinning gear and lighter lures, especially with the Westin Explore Cam. But if you’re using heavier trolling cams (like the Westin Escape Cam or original GoFish), underhand lob casts or trolling is safer. Note that casting with a camera on the line takes practice and finesse.
What NOT to Do
Don’t let line dangle loosely around the camera. You want direct, tight connections front and back.
Don’t add side-mounted hardware or arms—these cameras are specifically built to be part of the line, not hanging from it.
Don’t use a stiff or thick knot at tie points. It can disrupt tracking or damage the tie holes.
Extra Insights from Real-World Testing

- If you're fishing clear water, test the rig in a pool or shallow zone to fine-tune how your lure appears in the field of view.
- To reduce twisting: use a small inline ball-bearing swivel before the camera and another between camera and lure (optional).
- Some fishermen use rubber stops or beads to keep knots from sliding or abrading the cam's tie-through holes.
Final Thoughts

Inline underwater camera rigs are surprisingly easy to master once you’ve tried them a few times. Most fishermen figure it out in an afternoon, and once they get that first clean strike on camera, they’re hooked. It’s not just about getting cool footage (though that part’s hard to beat). It’s about what the footage tells you.
When you start watching the footage—seeing how fish approach, investigate, and strike (or don’t strike)—you’ll start adjusting everything from your retrieval cadence to your jig choice.
And if you’re needing gear for creating fishing video content, these rigs open up a whole new layer of storytelling. Raw strike footage—especially from the lure's perspective—adds depth to technique breakdowns and helps your audience see why something worked or didn’t. It’s not just educational, it’s extremely engaging.
In the end, using an underwater camera on your line gives you more than a highlight reel. It gives you feedback. And for fishermen who are always looking to learn, test, and adjust, that’s what makes it one of the best tools you can have on the water.